Asteroids with FRB
part 2
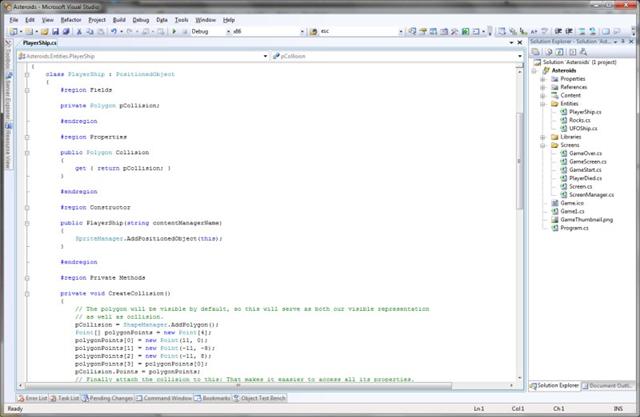
Step One
Open the PlayerShip.cs class file. We are going to do stuff that may blow your mind! Or maybe not. Now the PlayerShip class is going to be special, it will be an positioned object in itself. So that you can use the class as if its the ship. Sense there will be only one, we do it like that. There can be only one!
The first thing you will need to do is add this after the class namespace:
The first thing you will need to do is add this after the class namespace:
: PositionedObject |
so it looks like:
class PlayerShip : PositionedObject |
This makes it so the class becomes an object that we can use just like one we would create inside it, but the class itself is one. You should see what I mean as I go on. (Read about positioned object)
Add this to the Fields region:
Add this to the Fields region:
private Polygon pCollision; |
public Polygon Collision
{
    get { return pCollision; }
} |
This is so we can access the polygon outside the class. We always use interfaces for our classes.
Add this in the Constructor region:
Add this in the Constructor region:
public PlayerShip(string contentManagerName)
{
    SpriteManager.AddPositionedObject(this);
} |
We added the class itself as a object we can move on the screen, we do this so that everything gets attached to the class. That way you set the X just by using X. Lets move on.
Add this method inside the Private Methods region:
Add this method inside the Private Methods region:
private void CreateCollision()
{
    // The polygon will be visible by default, so this will serve as both
    // our visible representation as well as collision.
    pCollision = ShapeManager.AddPolygon();
    Point[] polygonPoints = new Point[4];
    polygonPoints[0] = new Point(11, 0);
    polygonPoints[1] = new Point(-11, -8);
    polygonPoints[2] = new Point(-11, 8);
    polygonPoints[3] = polygonPoints[0];
    pCollision.Points = polygonPoints;
    // Finally attach the collision to this: That makes it eaasier to access
    // all its properties.
    pCollision.AttachTo(this, false);
} |
This creates are collision that is triangular just like the original asteroids ship. The last line is very important, so we can use this as a sprite we attach it to the class, that is a positioned object.
Change the to the Initialize public method to:
Change the to the Initialize public method to:
public override void Initialize()
{
    CreateCollision();
} |
That runs the method we just made. Sense this one is an object, that already has an initialize, we need to override it.
Now add this to the Destroy public method:
Now add this to the Destroy public method:
SpriteManager.RemovePositionedObject(this); ShapeManager.Remove(pCollision); |
This cleans up after ourselves, when we need to kill the player, or the game is over. It happens in the GameScreen when its activated there.
Step Two
Now we go back and open up the GameScreen class to add this new stuff to it.
Add this to the Fields region:
Add this to the Fields region:
private PlayerShip PlayerSprite; |
This initializes the Player class.
Add this to the Initialize public method:
Add this to the Initialize public method:
// We have a content manager in here for when we will be adding spritse later.
PlayerSprite = new PlayerShip("Player");
// I decided to seperate this for easier reading. This will be called every
// time the player dies as well later on. That is where the defaults go.
PlayerSprite.Initialize(); |
This instances the new Player class now known as PlayerShip and we pass the content manager name with it. The next line calls the Initialize method.
Add this to the Destroy public method:
Add this to the Destroy public method:
PlayerSprite.Destroy(); |
This is of course where the Destroy method would be called by the Screen Manager if needed.
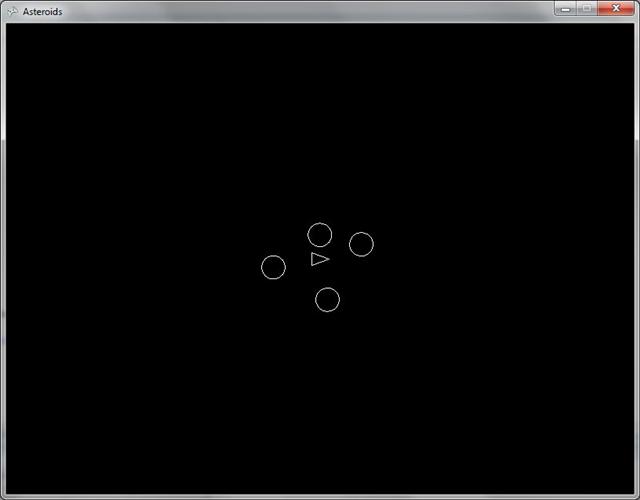
Now run the project, you should see a little triangle in the center of the screen with circles drifting away from it. If so, you got it right. If you have any issues download FRB Asteroids tutor Project step Two. That concludes this chapter. We got stuff on the screen, but if you just leave it on it the circles that are the rock collisions just float away.
We will be doing some work in chapter three that fixes that, and more.
We will be doing some work in chapter three that fixes that, and more.
