Shader Demo
You are reading the XNA 3.1 version of this tutorial.
Welcome back to my tutorial. Today, we are not going to learn anything new( almost ), but just put together a scene that uses some different shaders in order to see how powerful shaders can be.
I was not sure if I wanted to release the source code for this. The scene/code is hacked together really fast so don't follow the source code too closely, but rather focus on the shaders. A lot can be made better performance wise, but if proves the point.
To move around, use the sticks on the controller. To turn shaders off or on, press A/X.
To run this scene, you will need the XBox360 controllers connected to the USB port, or just edit the code so you can move the camera with the keyboard instead.
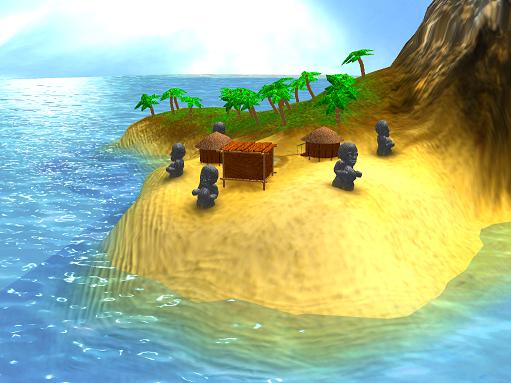
The Sky Sphere
This scene uses a simple sphere as a sky sphere, slowly rotating to make the scene look alive. To make this even better, one can add more skies on a different sphere and rotate it in a different speed to get the illusion of a more real sky.
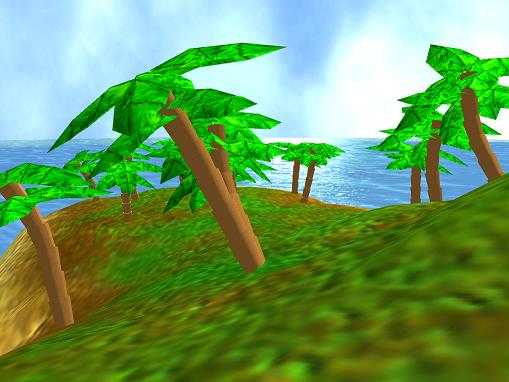
The Island
The island is a 3D model created by a friend of mine, Espen Nordahl. The island use a normal map and the same shader covered in tutorial 4, to make the model look more detailed.
The Ocean
The ocean is a plane built up by many vertexes. We use the technique described in tutorial 5( Deform shader ) to create the ocean waves, and using normal map from tutorial 4 to make tinier waves on top of this. I added two normal maps moving in different directions to make the small detail waves ripple on the waves:
Normal = (Normal + Normal2)/2;
Here I take the two normals, adding them together and using the avg. of these normals when calculating lighting, diffuse and specular( Tutorial 3 ).
I also move the texture coordinates on the color map, making it look like there is some stream in the water.
NOTE:
You might have noticed that I have not used effect.commitChanges(); in this code. If you are rendering many objects using this shader, you should add this code in the pass.Begin() part so the changed will get affected in the current pass, and not in the next pass. This should be done if you set any shader parameters inside the pass.